Changing Your Email Address
This guide will walk you through the complete process to ensure a smooth transition while maintaining uninterrupted access to your account and data.
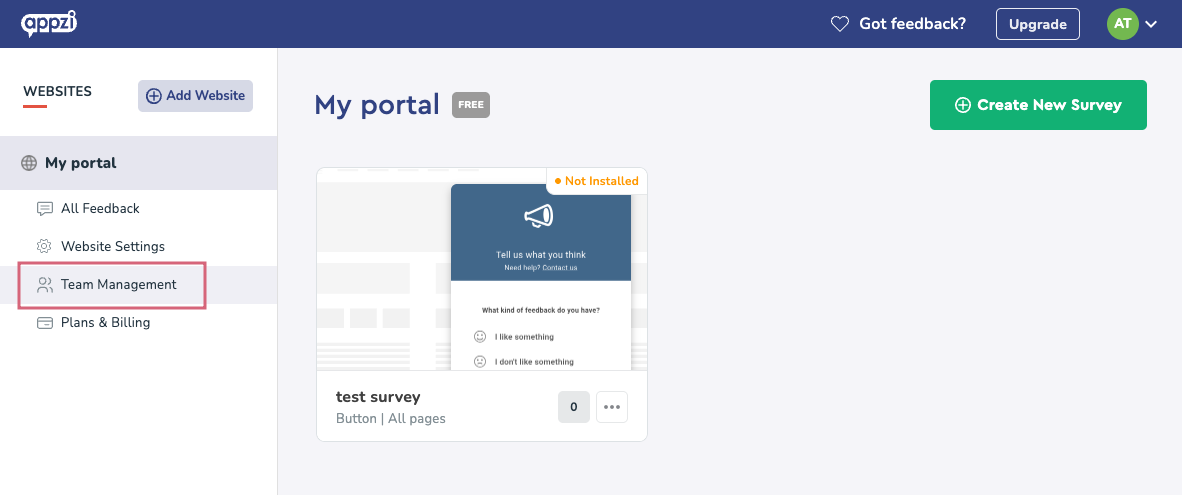
1. Access Team Settings
Section titled “1. Access Team Settings”Navigate to Team Management on the desired portal, like in the screenshot below. You can also do this by clicking your profile icon in the top-right corner, and selecting the Team Management option from the dropdown menu.
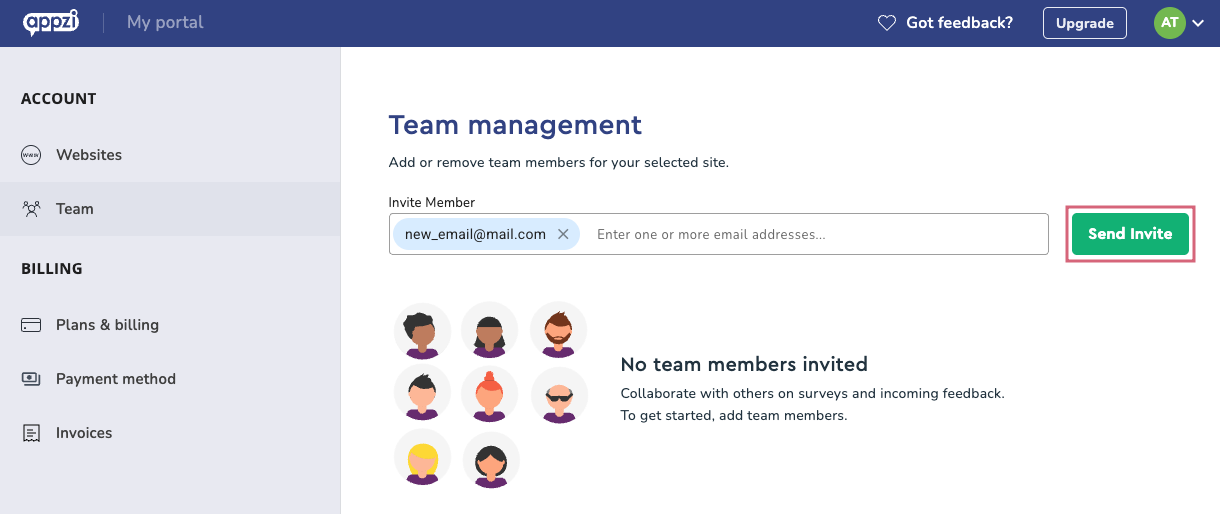
2. Add New Email
Section titled “2. Add New Email”In the Team Management, enter your new email address into the Invite Member field and click the invite button.
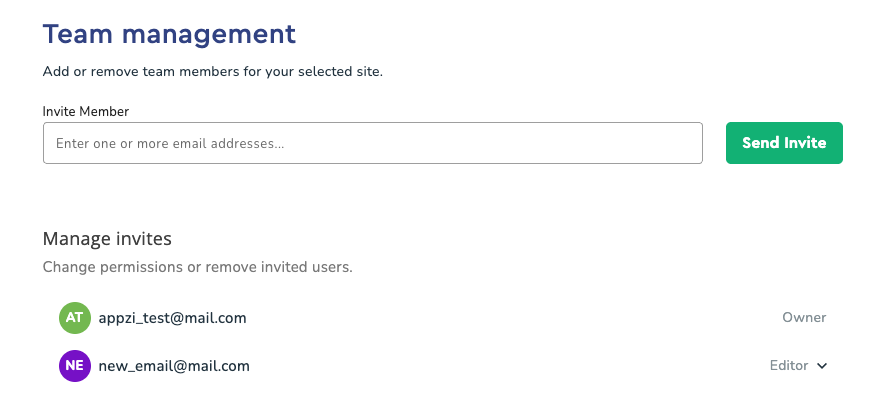
3. Verify New Email
Section titled “3. Verify New Email”After sending the invite, check that your new email appears in the team list. Its status should be “Pending” until it’s accepted.
4. Confirm New Email
Section titled “4. Confirm New Email”Open the inbox of your new email address, find the invitation email from Appzi, and click the link to accept and verify the account.
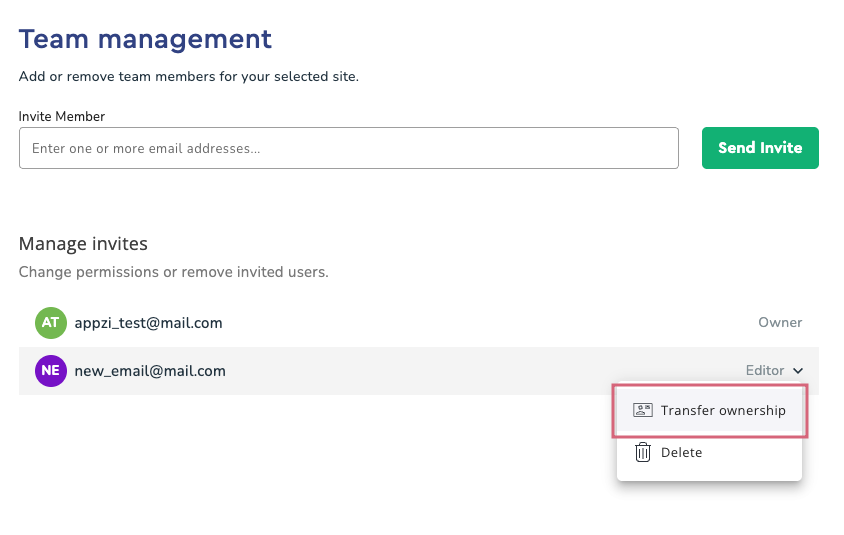
5. Transfer Ownership
Section titled “5. Transfer Ownership”Back in the Team settings, find your new email in the list. Click the arrow-down icon next to it and choose Transfer Ownership to make it the account owner.
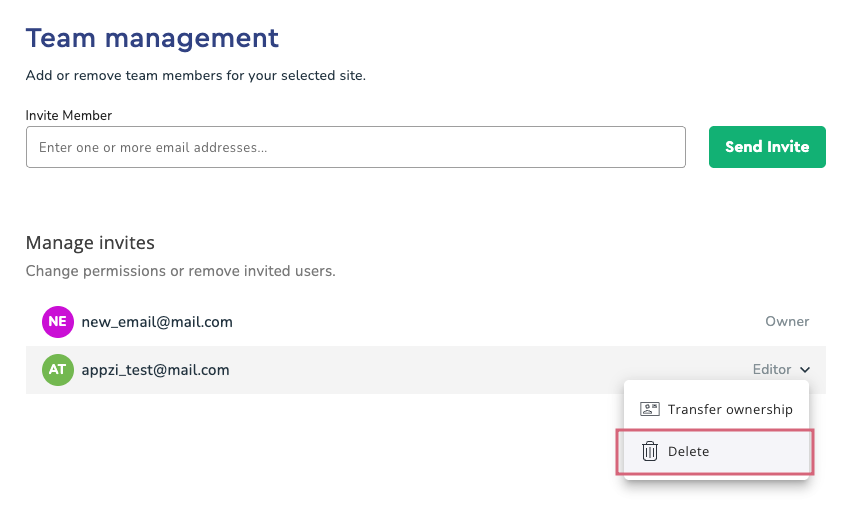
6. Remove Old Email
Section titled “6. Remove Old Email”Once ownership has been transferred, find your old email in the list, click the menu next to it, and select Leave Portal to remove it from the account. Or, if you’re logged in with your new email, you can delete your old email the same way, as shown in the screenshot below.